Apple’s mid-range tablet gets larger screen option and more power, being ‘pro’ enough for most
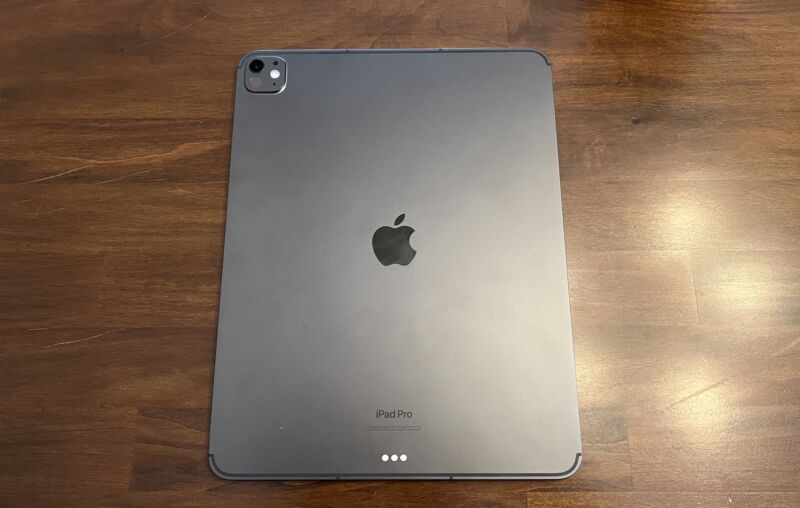
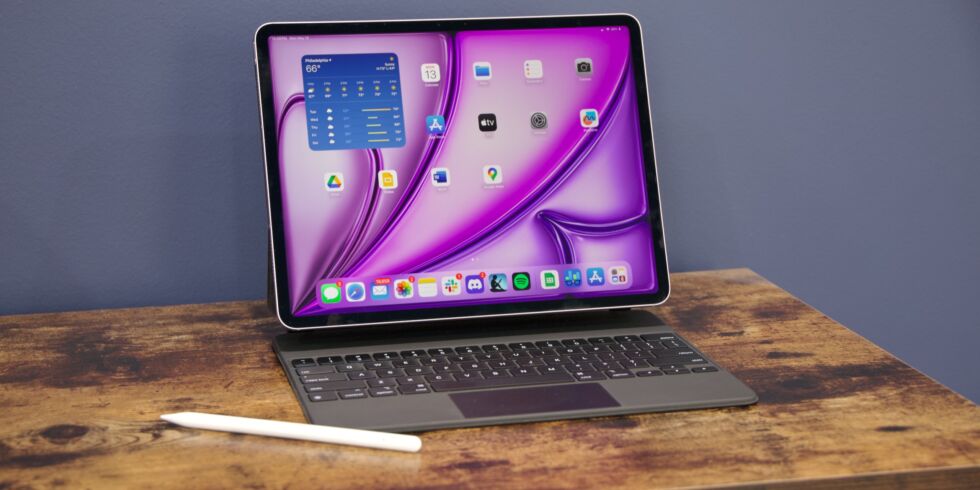
Apple has more options than ever for those after a tablet with different sizes, prices, screens and power, but the iPad Air is fairly simple to understand – it is the premium big-screen iPad for those who don’t want to fork out thousands for an iPad Pro.
The Air starts at £599 (€699/$599/A$999) and is now available in two screen sizes: the original 11in and a larger 13in model for big-screen viewing. That puts it right in the middle of Apple’s lineup, with the 10th-gen iPad starting at £349 at the bottom and topped by the new iPad Pro M4 starting at £999.
The new iPad Pro is a technical marvel, with one of the best screens I’ve ever seen, performance that few other machines can touch, and a new, thinner design that no one expected.
It’s a prime example of Apple flexing its engineering and design muscles for all to see. Since it marks the company’s first foray into OLED beyond the iPhone or Watch, and the first time a new M-series chip has debuted on something other than a Mac, it comes across as a tech demo for where the company is headed beyond just tablets.
Still, it remains unclear why most people would spend one, two, or even three thousand dollars on a tablet that, despite its amazing hardware, does less than a comparably priced laptop—or at least does it a little more awkwardly, even if it's impressively quick and has a gorgeous screen.
The new 13-inch iPad Air with the Apple M2 processor inside. [credit:
Andrew Cunningham ]
The iPad Air has been a lot of things in the last decade-plus. In 2013 and 2014, the first iPad Airs were just The iPad, and the “Air” label simply denoted how much lighter and more streamlined they were than the initial 2010 iPad and 2011’s long-lived iPad 2. After that, the iPad Air 2 survived for years as an entry-level model, as Apple focused on introducing and building out the iPad Pro.
The Air disappeared for a while after that, but it returned in 2019 as an in-betweener model to bridge the gap between the $329 iPad (no longer called “Air,” despite reusing the first-gen Air design) and more-expensive and increasingly powerful iPad Pros. It definitely made sense to have a hardware offering to span the gap between the basic no-frills iPad and the iPad Pro, but pricing and specs could make things complicated. The main issue for the last couple of years has been the base Air's 64GB of storage—scanty enough that memory swapping doesn't even work on it— and the fact that stepping up to 256GB brought the Air too close to the price of the 11-inch iPad Pro.
Which brings us to the 2024 M2 iPad Air, now available in 11-inch and 13-inch models for $599 and $799, respectively. Apple solved the overlap problem this year partly by bumping the Air's base storage to a more usable 128GB and partly by making the 11-inch iPad Pro so much more expensive that it almost entirely eliminates any pricing overlap (only the 1TB 11-inch Air, at $1,099, is more expensive than the cheapest 11-inch iPad Pro).
Earlier this week, Apple took the wraps off of a thoroughly leaked iPad Pro refresh with a 1 minute and 8 second ad spot wherein a gigantic hydraulic press comprehensively smushes a trumpet, an arcade cabinet, a record player, paint cans, a piano, a TV, sculptures, a bunch of emoji, and plenty of other tools that one might loosely categorize as "artistic implements."
At the end of the ad, the press lifts away to reveal a somewhat thinner, somewhat faster version of Apple's iPad Pro. The message of the ad, titled "Crush!" and still available via Apple's YouTube channel and CEO Tim Cook's Twitter account, is obvious: look at all of the things we've squeezed into this tablet!
"Just imagine all the things it'll be used to create," wrote Cook.
They say the only backup you ever regret is the one you didn’t make. iPhone backups can be used to easily move your apps and data to a new phone, to recover things you’ve lost, or to fix things that have failed.
We’ve published posts on how to back up your iPhone to iCloud, and how to backup an iPhone to a Mac. Another method is to backup using the iTunes app on a Windows system.
Choose whichever backup method works best for you, and will continue to work.
They say the only backup you ever regret is the one you didn’t make. iPhone backups can be used to easily move your apps and data to a new phone, to recover things you’ve lost, or to fix things that have failed.
One of the most cost effective ways to backup your iPhone is to save backups to your Mac. Backups are made automatically whenever you connect your iPhone to your Mac with a lead. Be aware though that backups can take up a lot of space on your Mac, and that if your Mac is lost, stolen, or inoperable, then you won’t be able to access your iPhone backups. If you need daily backups or backups that can always be accessed from anywhere, you may prefer to backup your iPhone to iCloud.
This guide tells you how to enable backups to your Mac, and how to check that everything is working as you expect.
First, connect your iPhone or iPad to a Mac using a cable.
Open the Finder app and select your iPhone from the list of Locations.
Click General.
Under Backups, choose Back up all of the data on your iPhone to this Mac.
To encrypt your backup data and protect it with a password, select Encrypt local backup. You will be prompted for a password.
Click Back Up Now.
We don’t just report on phone security—we provide it
They say the only backup you ever regret is the one you didn’t make. iPhone backups can be used to easily move your apps and data to a new phone, to recover things you’ve lost, or to fix things that have failed.
The most convenient way to backup your iPhone is to have it backup to iCloud. Backups are made every day, automatically, provided your phone is connected to power and locked. Be aware though that backups take take up a lot of your iCloud storage, and your phones’ data plan if you choose to backup when you aren’t connected to Wi-Fi. If those are likely to be problems for you, you might prefer to backup your iPhone to your Mac.
This guide tells you how to enable backups to iCloud, and how to check that everything is working as you expect.
Open the Settings app.
Then tap where you see your name and Apple ID, iCloud+, Media & Purchases.
Next, tap iCloud.
Scroll down and tap iCloud Backup.
Toggle Back Up This iPhone to on.
This may reveal a Back Up Over Cellular Data or Back Up Over Mobile Data toggle. This creates backups when you aren’t connected to Wi-Fi. Because backups can use a lot of data, toggling this on may cause you to exceed your data plan.
Once you have made a backup, you can access it from this screen under ALL DEVICE BACKUPS.
You can return to the previous screen by tapping the < iCloud link at the top. This screen shows you how much storage space your backups are using. To see a little more detail, tap Manage Account Storage.
Scroll down the list of apps until you see Backups to see how much storage your backups are using.
We don’t just report on phone security—we provide it